Wheeler Hut, B.C. CanadaMake sure you look at all three photos in this post to see the before/after
It was a cool festive evening at wheeler hut as the moon rose in the foggy night sky. A long day of backcountry skiing was well rewarded with hot chocolate, and a delicious meal. Even though we were “in the sticks” I couldn’t help but cook a hearty meal with turkey stuffing, asparagus and boursin stuffed chicken breast, can you tell I love food? A game of jenga on the dinner table brings bouts of laughter as we tell stories by the cozy wooden fireplace.
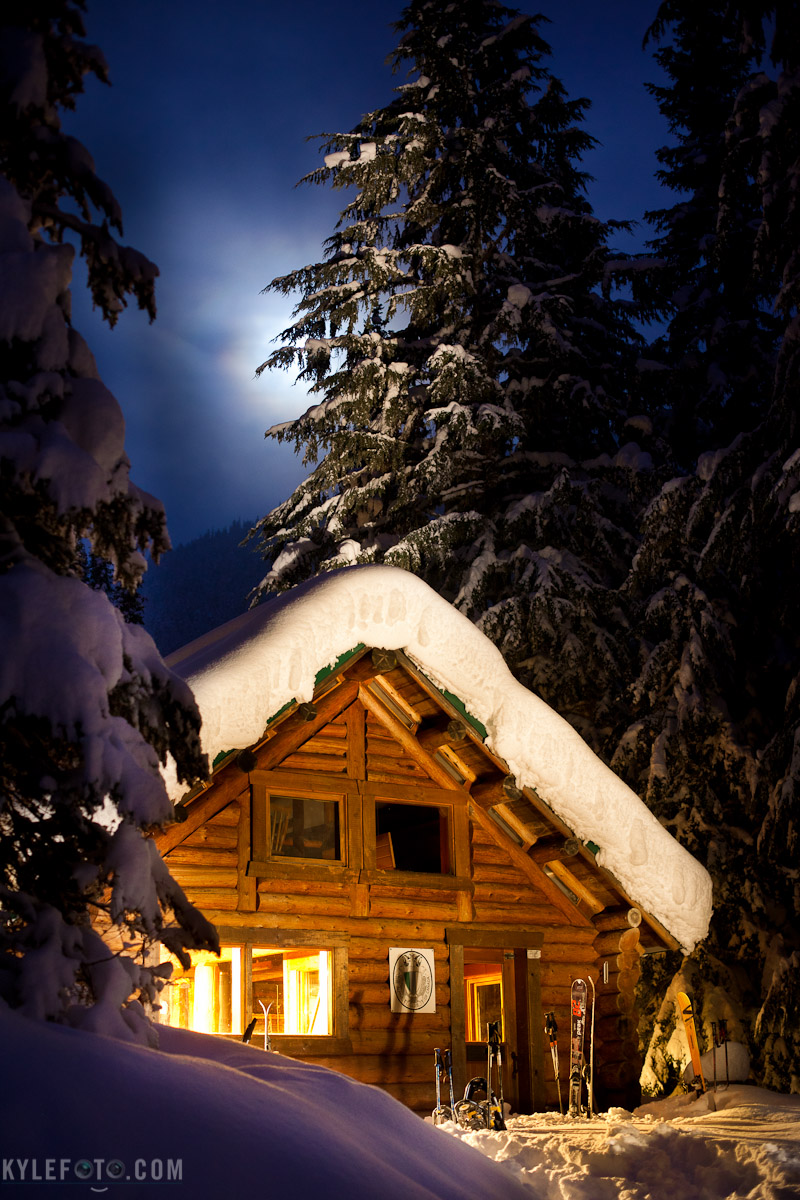
Photographic Details: I found the angle and composition I was looking for to show the front of this beautiful hut with the moon shining behind it but the hut itself was dark in the photograph. I had to add some light if I wanted the logs and the white fluffy trees to be visible. I knew I would be getting shots like this so I planned ahead to bring my massive maglite, it’s my favourite light painting tools as I can focus the beam of light and it’s bright enough to be very useful photographically.
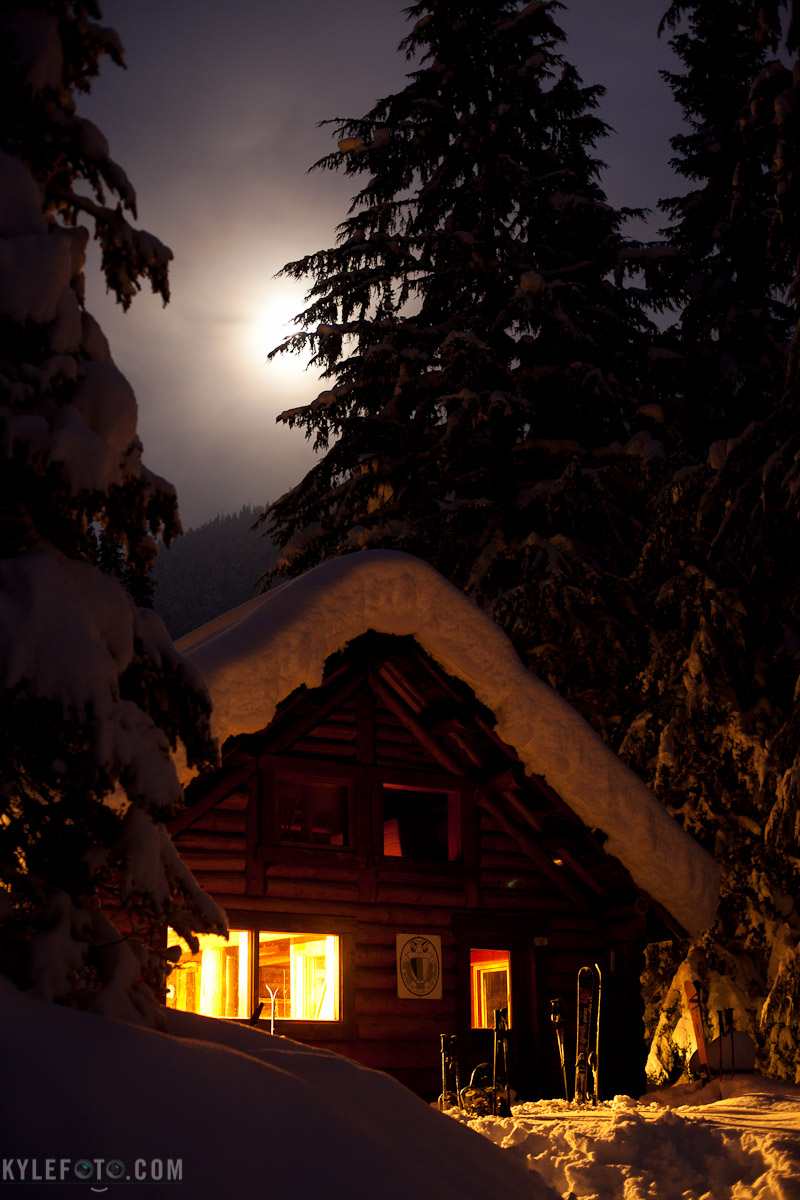
Before Photo:
You can see the first photo is atmospheric but I had a vision for more detail in this photo.
So I set my camera on a timer on a tripod stuck in the snow and frantically ran to the right of the camera with my maglite (not easy in deep snow). Once I heard the click of my shutter set at 15 seconds I shined the light on every part of the photo that I wanted illuminated. I made sure to light up the part of the tree by the moon to help draw the eye toward the sky, I wiggled my flashlight all over the skiis, snow and front of the cabin. After 15 seconds my camera finished it’s exposure and the light that I shone in that timespan was “painted” onto the surface of everything it touched.
After Photo:
You can see the result is dramatically different and the image has a much brighter feel. Be sure to try standing in different places and avoid light painting from behind the camera, a light source too close to the camera may look too much like an in camera flash which doesn’t produce flattering results. light painting is a great way of illuminating subjects at night, the beauty of it is that you don’t have to be exact, and it’s easy enough to have a flashlight handy in your kit!
Lighting Diagram:
15s f/2.8 ISO800 50mm


